Getting started
From installing MailCrafter to your first campaign, in six steps. For more depth, each step has its own lesson.
1. Install
Download MailCrafter and run MailCrafter-Setup.exe. If Windows warns you, choose More info › Run anyway: the beta installer isn't signed yet.
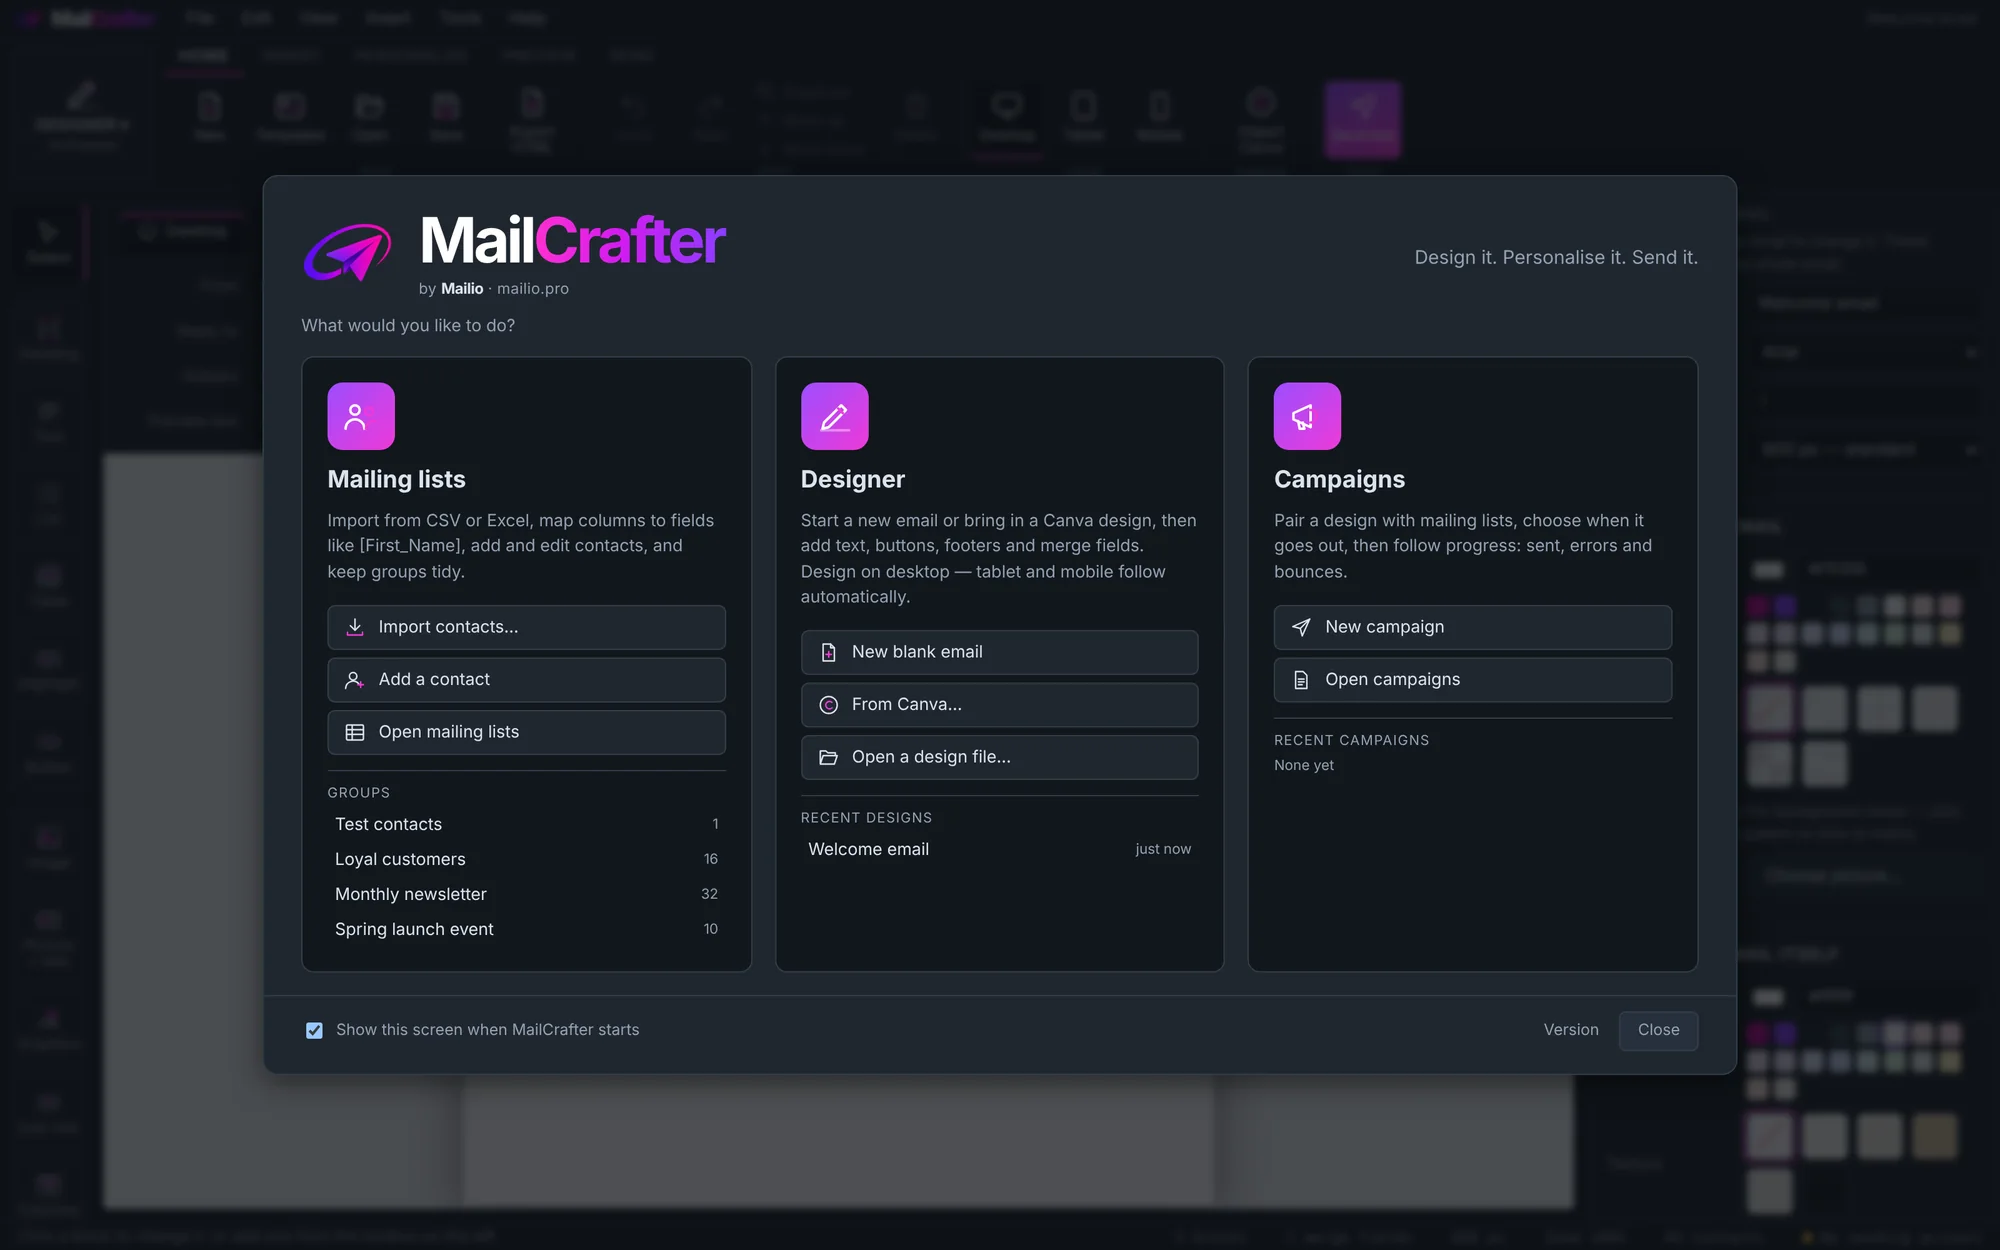
MailCrafter opens with a welcome screen of three panels: Mailing lists, Designer and Campaigns. Each one takes you to that workspace; you can also switch with the button at the left of the ribbon.
2. Connect your sending account
MailCrafter sends through an email account you already have. Open Tools › Options (or Sending account on the Campaigns ribbon) and choose your provider:
- Google Workspace / Gmail: sign in with your address and an App password (not your normal password). Turn on 2-Step Verification in your Google account first, then create an App password there.
- Brevo, Amazon SES or Mailjet: use the SMTP login and key from that service's settings.
- Other mail server: your email provider or web host can give you the SMTP server, port, username and password.
Click Send test to check it works. MailCrafter sends at a steady pace that suits each provider, so your account isn't flagged for sending too fast.
3. Import a mailing list
- Open Mailing lists and click Import.
- Drop in any Excel file (old
.xlsor new.xlsx), a CSV or a text file, or click Paste from clipboard and paste rows copied from anywhere. - Check how the columns were matched to fields, pick the list they go into, and say how these people agreed to hear from you.
- Click Import. You'll see how many subscribers are new, updated or skipped: people already in MailCrafter are updated rather than added twice.
4. Fields and merge tags
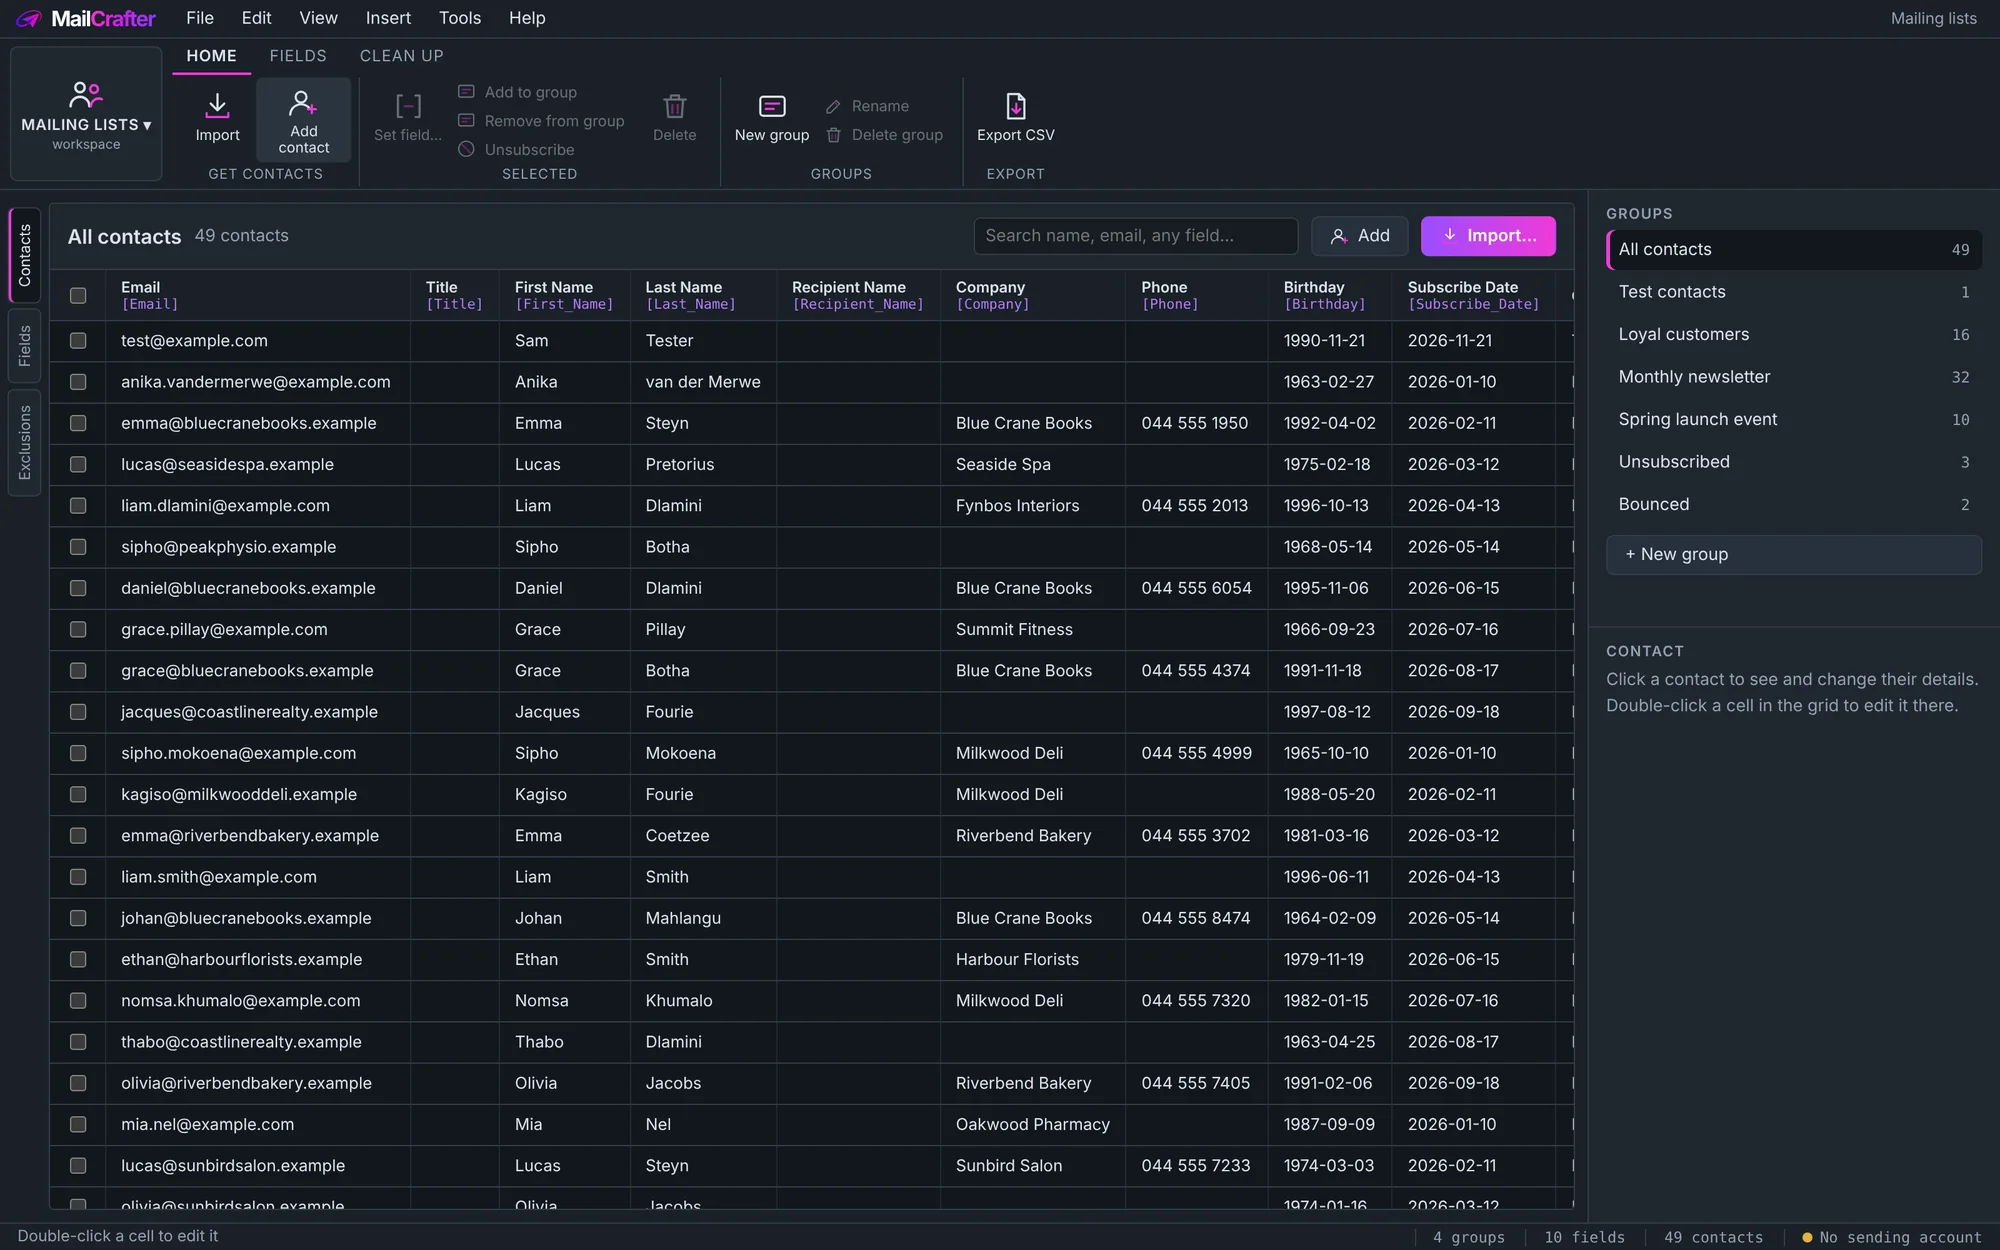
Every column you import becomes a field, named with underscores, such as First_Name or Birthday. Put a field in square brackets in your email or subject line and each person gets their own value:
Dear [First_Name]→ Dear SamHi [First_Name|there]→ Hi there, when the first name is emptyYour birthday is [Birthday|d MMMM]→ Your birthday is 21 November
In the designer, click Field on the text toolbar to insert one without typing.
5. Design an email
Open the Designer and start from Templates, or from a blank email. Then:
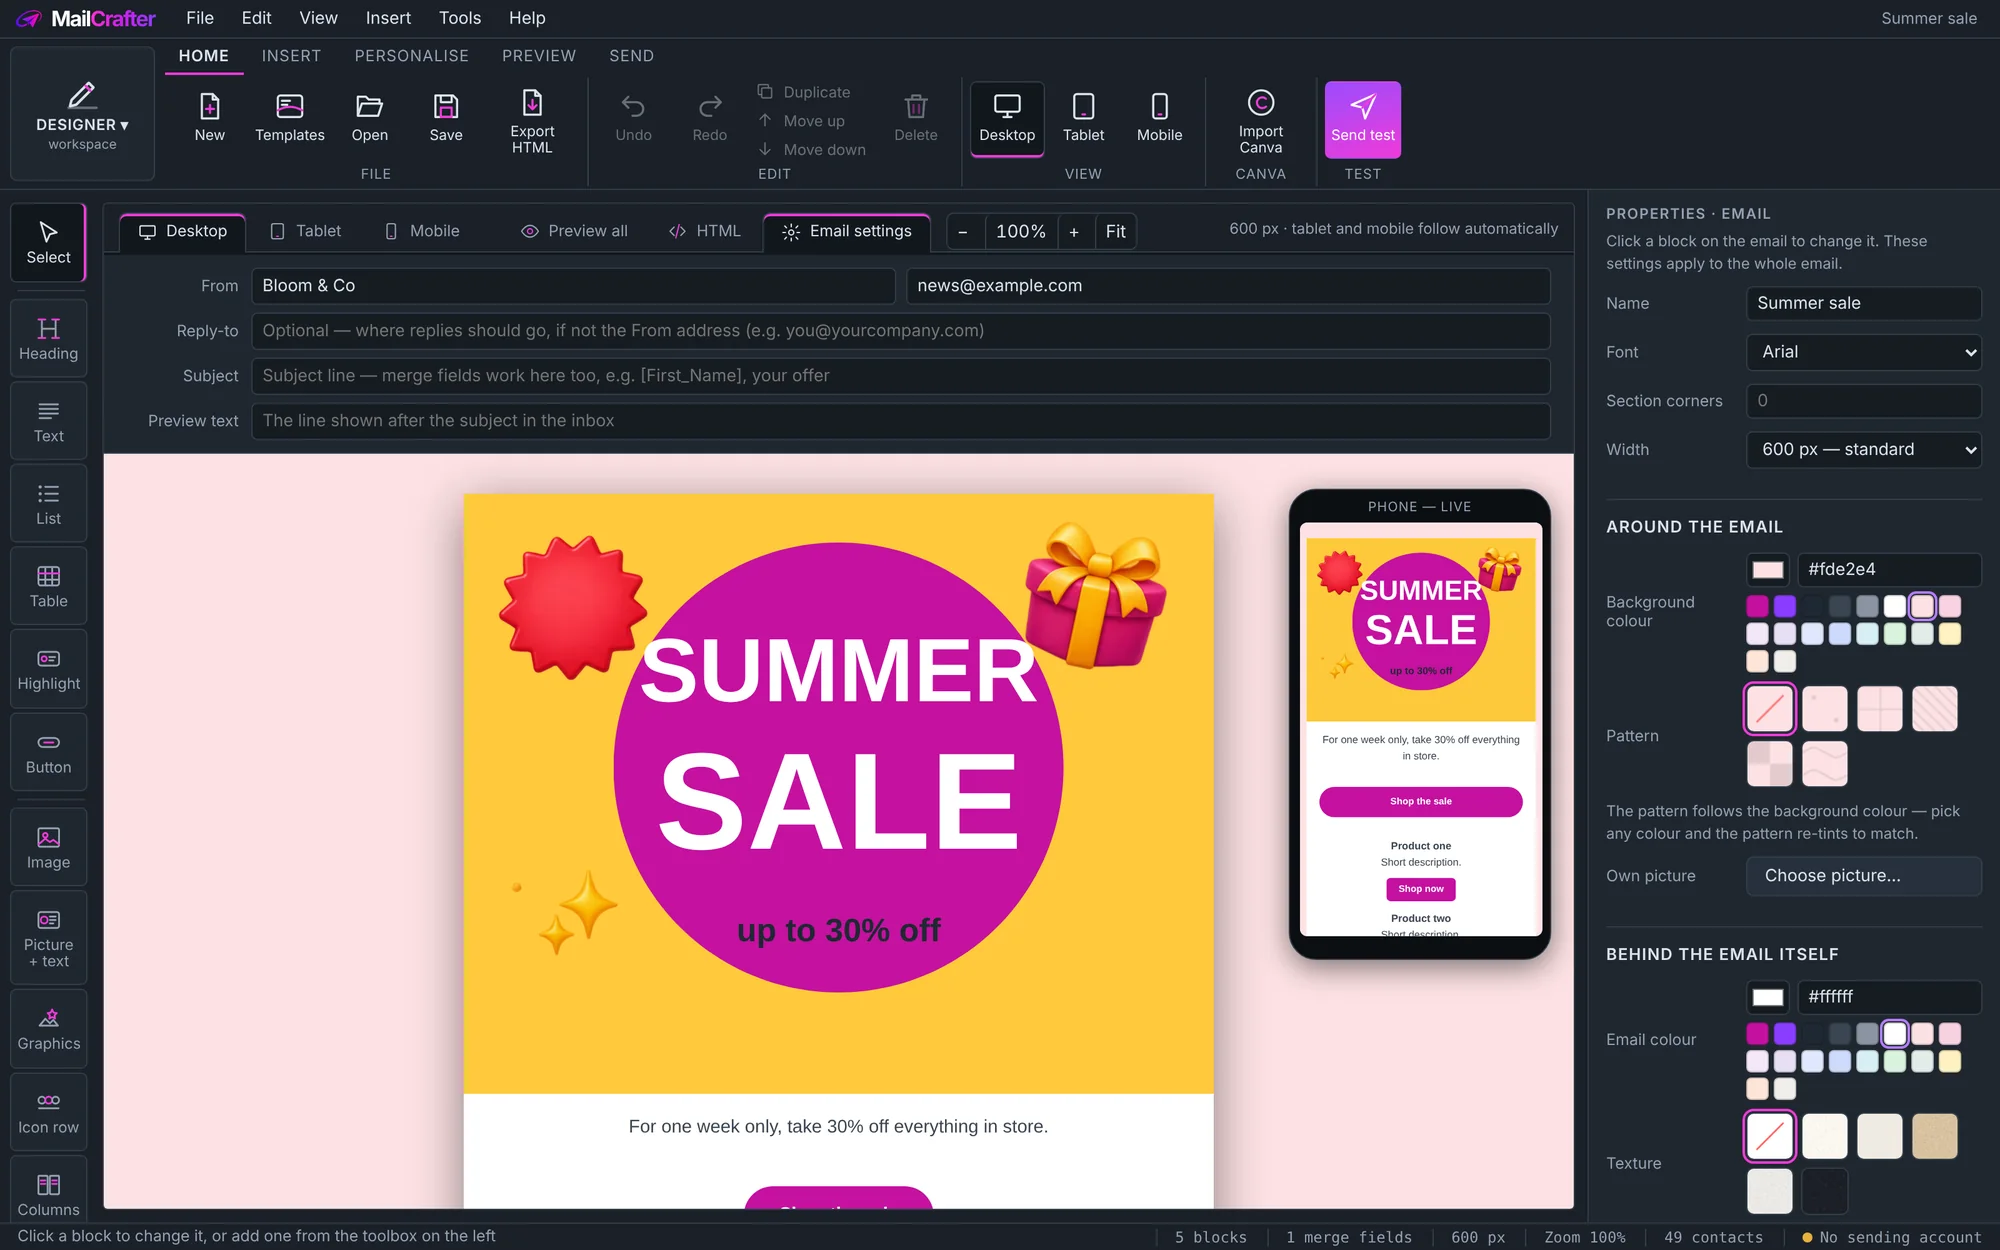
- Add blocks from the toolbox on the left: headings, text, pictures, buttons, columns, tables, highlights and more. Many open a gallery of ready-made styles.
- Click any block to change it in the Properties pane on the right. Click empty space to change the whole email: width, colours, background and font.
- A hero is a banner made of layers: drag, rotate and resize them, and use Layers to put one in front of another.
- Check the Mobile tab: phones are laid out for you, but it's worth a look.
When you're happy, click Send test and send it to yourself. You can send to several addresses at once: separate them with ;.
6. Send a campaign
- Open Campaigns › New campaign.
- Choose the design and the mailing lists to send it to. MailCrafter shows how many people that is, leaving out excluded addresses.
- Send now, schedule it for later, or tick Send in waves if your domain is new to sending.
- Follow its progress: sent, queued, errors and bounces. Hard bounces go to the exclusion list by themselves.
Sending well
- Only email people who agreed to hear from you, and keep a note of how they agreed. See our anti-spam policy.
- Keep the unsubscribe link in every email, and stop mailing anyone who asks.
- Set up SPF, DKIM and DMARC for the domain you send from. Your email provider shows you the records to add.
- Send a test first, and look at it on a phone and in Outlook.
Questions
Work through the lessons, or email us at and we'll help.